Generating Reports
A new report can be generated from the Report List or Scheduled Report List screen. There are two different ways to generate a report from a report template: instant report generation and report reservation.
Generating Instant Report
If you want aggregation results immediately, generate a report manually.
 On the Report List screen, click [Generate Report Immediately].
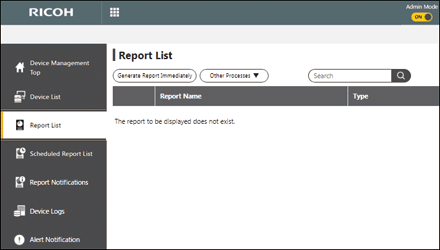
The report generation wizard appears.
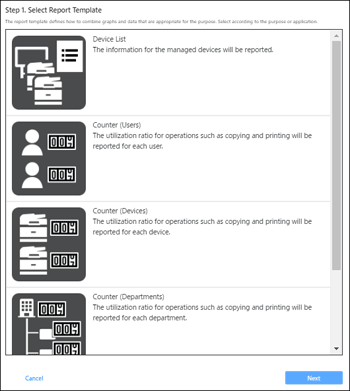
 Select an appropriate report template, then click [Next].
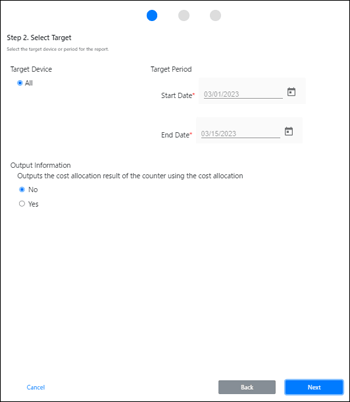
 Set the covered devices and other settings, then click [Next].
Settings differ depending on the report.
Report type | Setting |
|---|---|
Device List (Information) |
|
Counters (Device) |
|
Counters (User) |
|
Counters (Group) |
|
Counters (Billing Code) |
|
*1 Displayed when a cost allocation table is specified.
*2 The configuration of a group master is optional.
 Enter the appropriate management information, then click [Next].
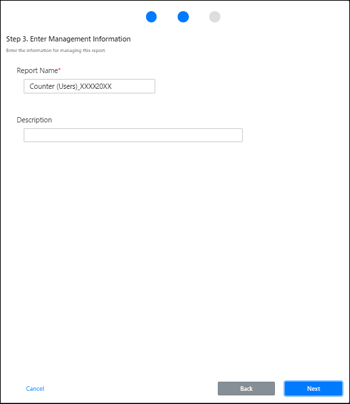
Entry | Description |
|---|---|
Report name | A report name is required. The initial value is automatically entered in the format "(selected report template name)_(8-digit year month day)". The length must be between 1 and 128 characters. |
Description | Enter a description for the report. The length must be between 1 and 1,024 characters. |
 Check the report settings, then click [Create].
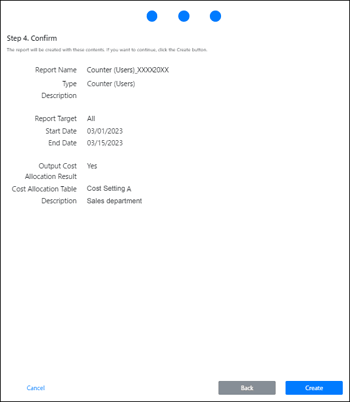
Report generation begins, then the generated report is added to Report List.
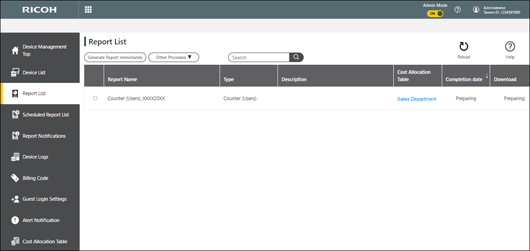
It will take a while for the report generation to finish, during which "In progress" may be displayed under "Completion date" and "Download." The time it takes for report generation to finish depends on the report being generated.
Creating Scheduled Reports
Aggregate values on the specified closing date and create reports.
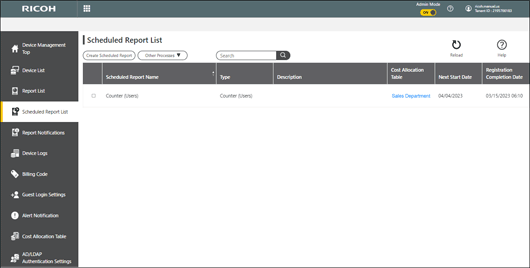
 On the Scheduled Report List screen, click [Create Scheduled Report].
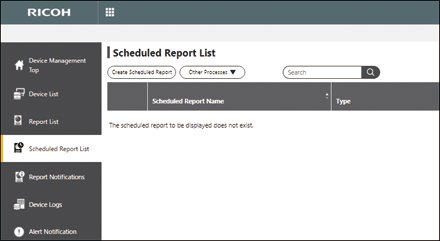
The report generation wizard appears.
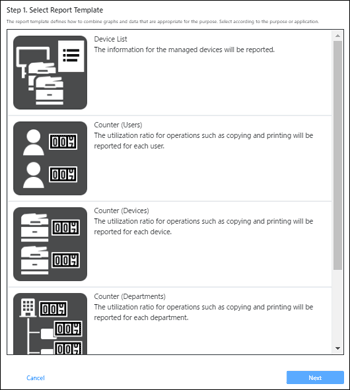
 Select an appropriate report template, then click [Next].
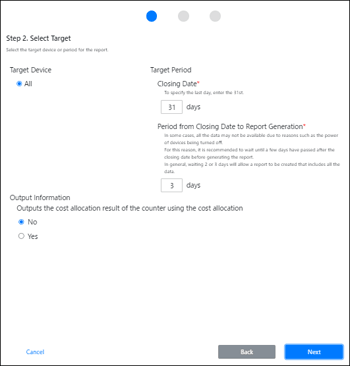
 Set the covered devices and other settings, then click [Next].
Settings differ depending on the report.
Report type | Setting |
|---|---|
Device List (Information) |
|
Counters (Device) |
|
Counters (User) |
|
Counters (Group) |
|
Counters (Billing Code) |
|
*1 Displayed when a cost allocation table is specified.
*2 The configuration of a group master is optional.

If there is a month that does not have a specified closing date, reports are created on the last day of the month. For example, if you set the 31st as the closing date, the closing date of the months that end on the 30th will be 30th.
Some data may not be available, for example, because a target device is turned off when data is to be collected. To ensure that all desired data is available, it is recommended to generate a report a few days after the closing day.
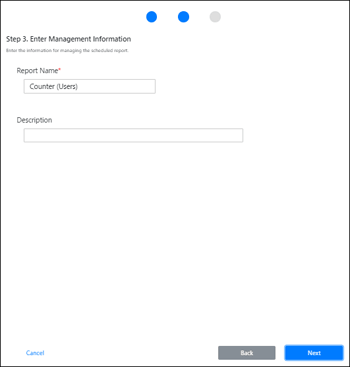
 Enter the appropriate management information, then click [Next].
Entry | Description |
|---|---|
Report name | A report name is required. The initial value is automatically entered in the format "(selected report template name)_(8-digit year month day)." The length must be between 1 and 128 characters. |
Description | Enter a description for the report. The length must be between 1 and 1,024 characters. |
 Check the report settings, then click [Create].
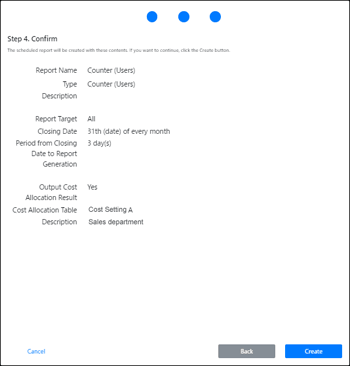
The report reservation is added to Scheduled Report List.
Examples of Specifying a Time Interval (or a Date Range) for a Report
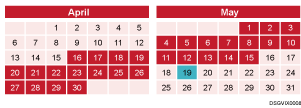
See the following for the relationship among the report generation date, closing date, and aggregation period. Calendars in each example indicate the date range covered by the report.
Example 1
If the closing date is set to the 15th and if the number of days from the closing date to the generation date is set to three days
Report generation date: May 19 0:00 a.m.
Closing date: 15th
Report aggregation period: From April 16 to May 15
Example 2
If the closing date is set to the 30th and if the number of days from the closing date to the generation date is set to three days
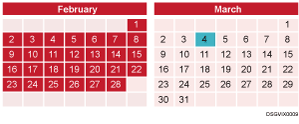
Report generation date: March 4 0:00 a.m.
Closing date: 30th
Report aggregation period: From February 1 to February 28
